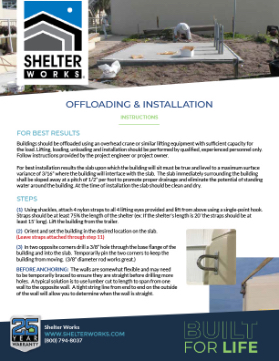
Delivery & InstallationInformation for offloading and installing Shelter Works Shelters
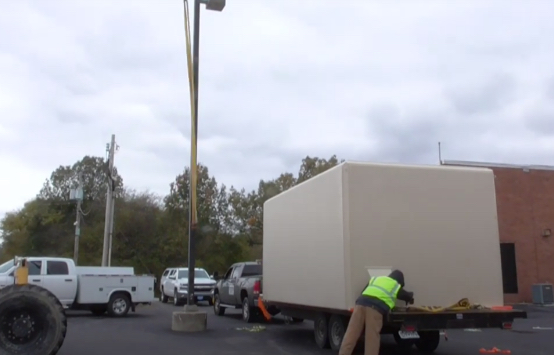
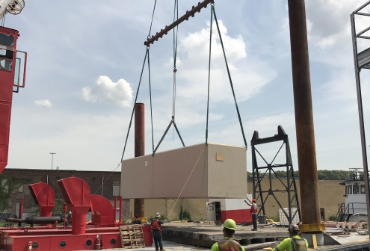
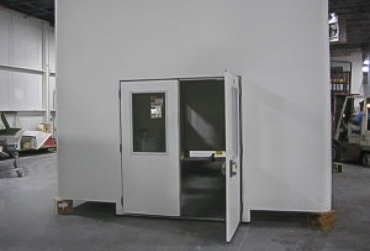
Thanks to our offsite construction process, your fully-assembled prefabricated shelter arrives ready to drop in place. It can be offloaded with a crane, boom truck or other properly rated lifting equipment and installed and functioning in hours, not weeks or months.
Compare this to traditional on-site construction which typically involves the scheduling and coordination of multiple construction professionals over many weeks. It requires a tightly orchestrated timeline that can be easily delayed by weather or contractor holdups.
Shelter Works' quick and easy installation process reduces labor costs, minimizes job site complexity and eliminates unforeseen downtime.
Our Process
Listed below is a step-by-step review of the offloading and installation processes. Please note that all lifting, loading, unloading and installation should be performed by qualified, experienced personnel in accordance with the instructions provided by the project engineer or project owner.
Also, for best installation results the slab upon which the field equipment shelter sits must be true and level to a maximum surface variance of 3/16” where the building will interface with the slab. The slab immediately surrounding the building shall be sloped away at a pitch of ½” per foot to promote proper drainage and eliminate the potential of standing water around the building. At the time of installation the slab shall be clean and dry.
step1
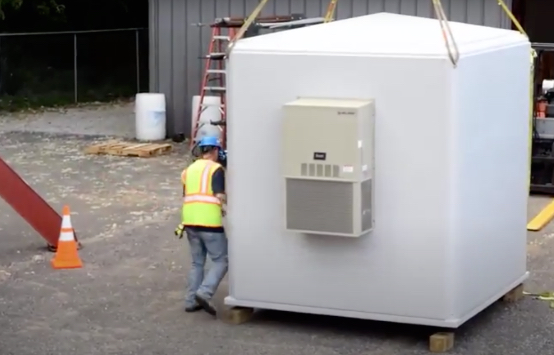
Prepare & Lift the Building
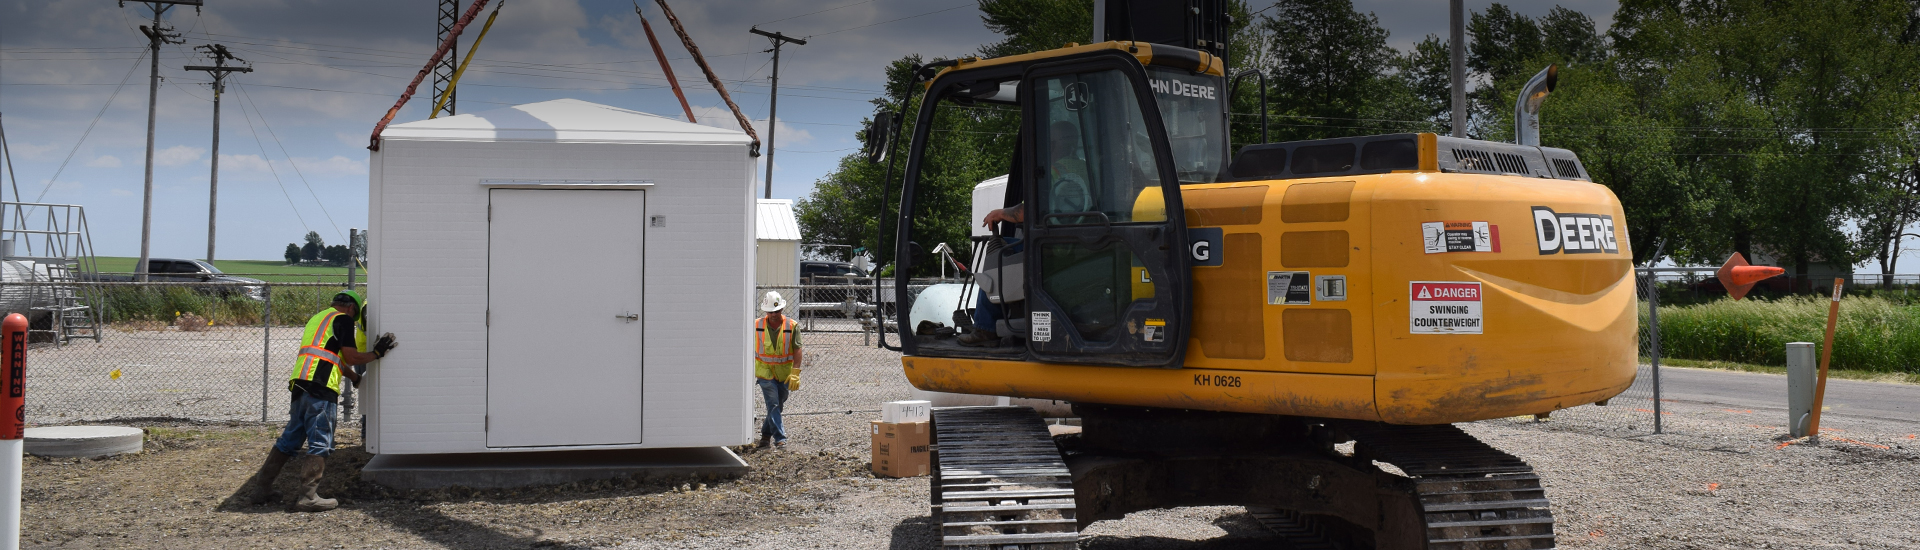
Using shackles, attach 4 nylon straps to all 4 lifting eyes provided and lift from above using a single-point hook. Straps should be at least 75% the length of the shelter (e.g.: If the shelter’s length is 20’, the straps should be at least 15’ long.) Lift the field equipment shelter from the trailer.
step2
Set the Building
Orient and set the building in the desired location on the slab. (Leave straps attached through step 11)
step3
Drill Corners
In two opposite corners drill a 3/8” hole through the base flange of the field equipment shelter and into the slab. Temporarily pin the two corners to keep the building from moving. (3/8” diameter rod works great.
step4
Align Walls
Before being anchored, the walls are somewhat flexible and may need to be temporarily braced, as needed, to ensure they are straight before drilling any more holes. A typical solution is to use lumber cut to length to span from one wall to the opposite wall. A tight string line from end to end on the outside of the wall will allow you to determine when the wall is straight.
step5
Drill Base Flange Holes
Mark and drill all remaining anchor bolt holes through the base flange and slab (in accordance with anchor bolt manufacturer’s specifications) at the spacing as indicated on sheet three of the submittal drawings.
step6
Trace Building on Slab
With a construction pencil or marker, trace the outline of the exterior of the building on the slab.
step7
Clear Drilling Debris
Lift building off slab and sweep away all debris from drilling.
step8
Gasket the Base
Apply a row of ConSeal™ base gasket to the slab, midway between the drilled holes and the traced outline of the field equipment shelter. Join the sealant into one continuous strand by kneading the ends together where they meet. Do not stretch or overlap sealant. In colder weather, warm up the ConSeal™ to 75°F before applying to the slab.
step9
Lower the Building
Lower the building down within a couple of inches of the slab.
step10
Align Pins Through Drill Hole
Place alignment pins through the base flange and into the drilled holes in the slab at the four corners and at the midway point of each wall to guide the building down the remaining couple of inches onto the slab.
step11
Partially Tighten All Anchor Bolts
Insert expansion anchor bolts into all holes and partially tighten.
step12
Tighten All Bolts
Go around to each bolt a few times, tightening a little more each time until the bolts are all snug and the base gasket is compressed to not more than a ¼” thick.
step13
Finalize and Weatherproof All Remaining Attachments
Reattach any items that were shipped loose such as rain hoods and extra lights. Weatherproof the seams around these items with the provided color matched caulk. Field penetrations through the walls or roof should be sealed with silicone caulking to prevent water infiltration.